I recently came up with some projects featuring AI avatars. AI stands for Artificial Intelligence while avatar here is referring to the virtual AI character used to narrate or being the spokesperson of a video.
In other words, AI avatars could speak words like normal humans do. Everything is done almost naturally.
Apart from saving us more time, this technology is also suitable for someone wanting to deliver information or do sharing but is afraid being in front of camera.
Below is the step-by-step method I used to produce a simple video featuring an AI avatar narrating a given sentence.
There are many AI platforms out there to do those, but I chose:
- SpeechKi – for AI voice over.
- Pipio – for AI avatar.
- InVideo Studio – for adding video & audio stocks and general editing.
Note: By default, Pipio could do voice over with its built-in speakers, but I think SpeechKi delivers better and more realistic AI voices.
Alright, let’s get started!
Generating AI Voiceover: SpeechKi
SpeechKi’s voices are the most realistic compared to other platforms I ever used.
Now I’m going to show you how I use SpeechKi to do the conversion.
1-Login to SpeechKi and head over to “Create a Project”
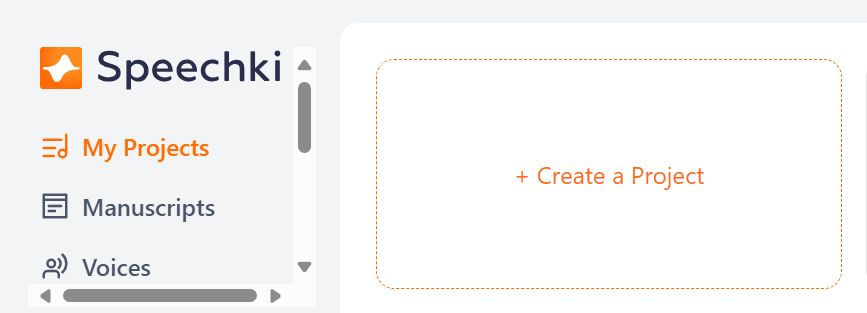
2-Enter the script into the box and give a project name.

3-Select speaker. We can select the preferred language and then the chosen speaker. We can listen to sample voices before making a selection.
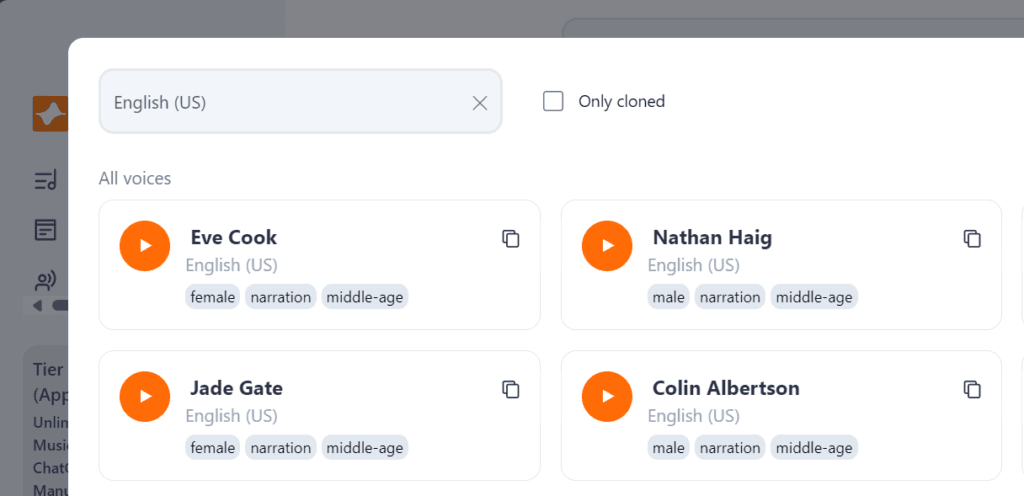

4-Generate audio. By this time, we could actually review and potentially edit the audio to our liking. Also, the audio comes along with audiogram. Audiogram is simply the video version of the audio.


5-Download the audio to our local computer.

Generate AI Avatar: Pipio
For your information, Pipio too can generate voiceover similar to SpeechKi.
However, its main function I think is to produce AI avatars or actors.
Okay. Now let’s use Pipio to do the AI avatar using audio generated from SpeechKi.
1-Login to Pipio. Normally Pipio uses a magic link sent to our registered email for login.

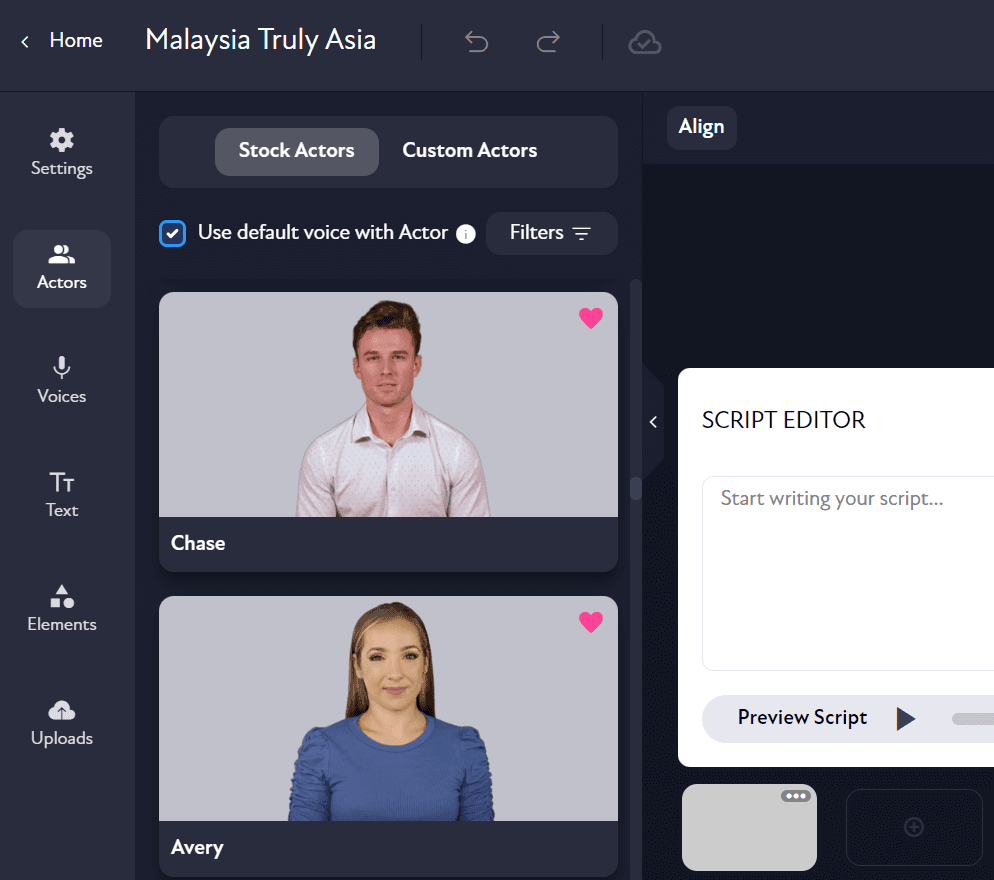
2-Create and give our project a name. From the “Actors” tab, select our desired actors.

3-Select “Audio Script” and upload the MP3 audio generated by SpeechKi early on.
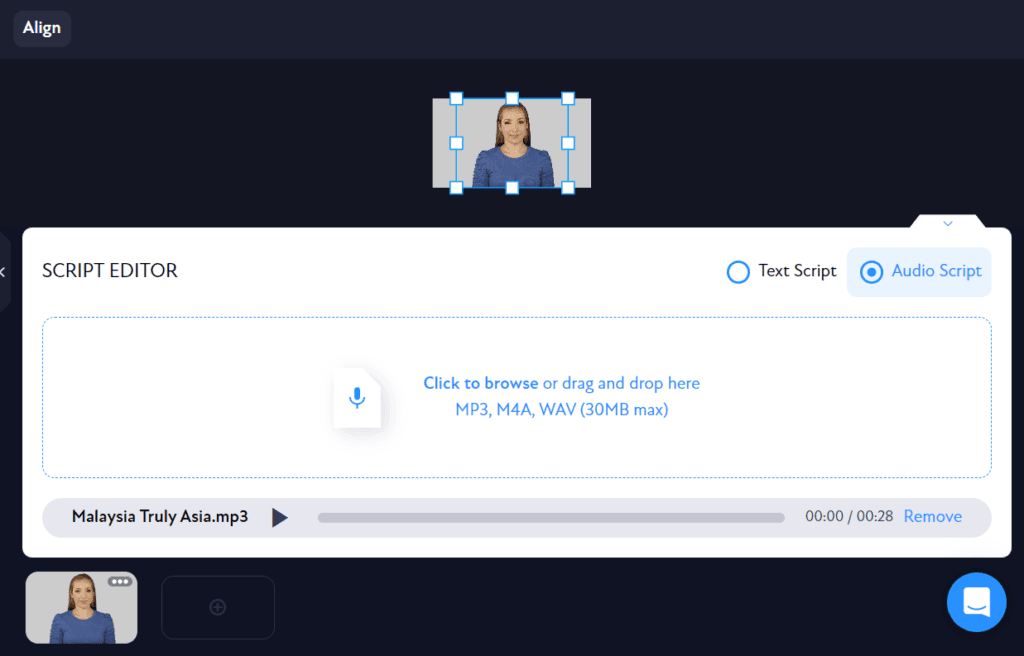
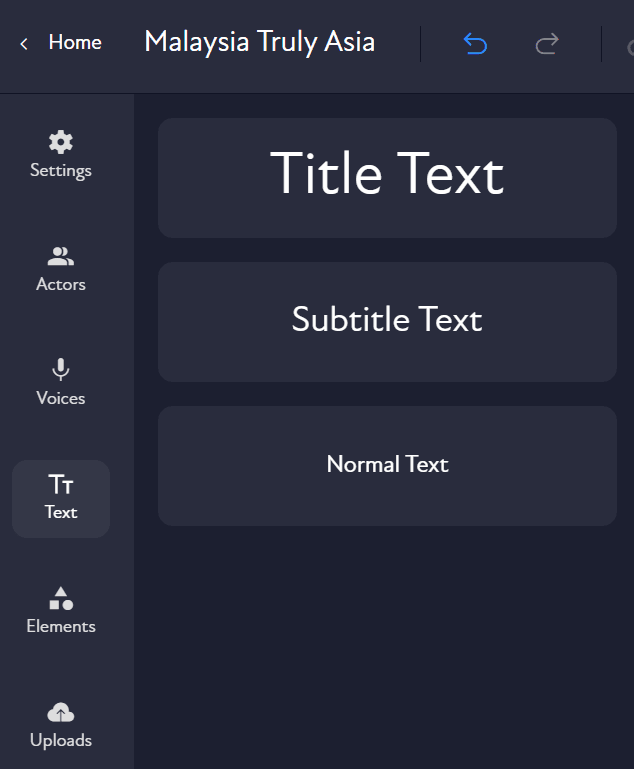
4-We can add text, elements (stock photo, video or audio) or upload ours.
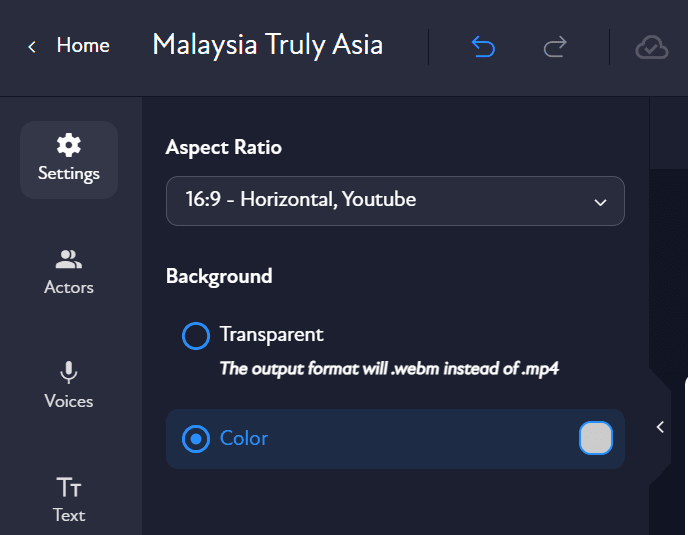
5-Under setting, we can change the aspect ratio (horizontal, vertical or square) and select background to be transparent or colored.
6-We also can preview the AI avatar first before export.


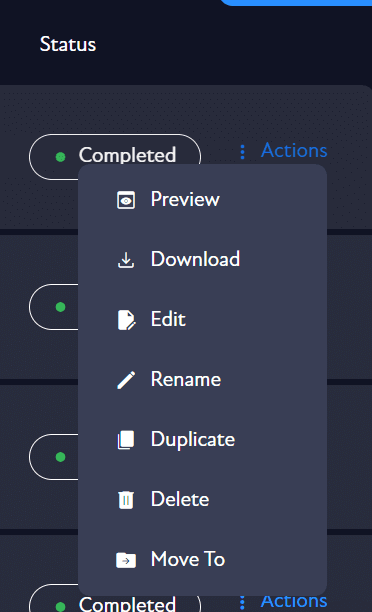
7-From “Actions” we can download the video.
Adding Animation And Background Music: InVideo
Well, this one here is optional. Some of the features InVideo offers are also available, if not all in SpeechKi or Pipio.
However, for sharing sake I’m going to show you how I used InVideo to add animated titles and background music.
1-Login to InVideo Studio.
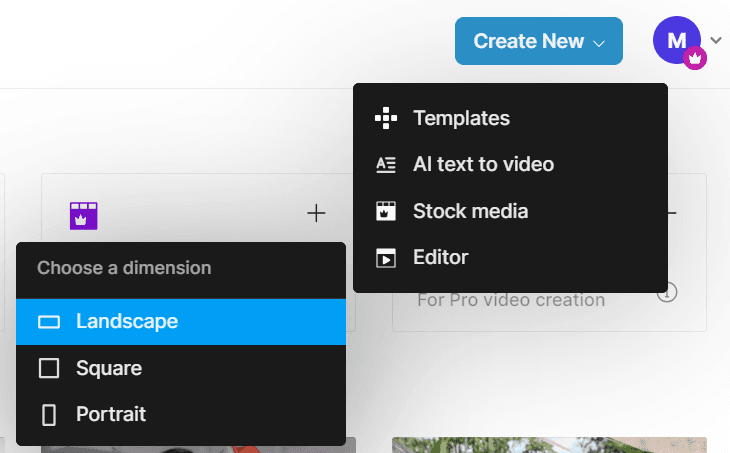
2-From “Dashboard”, select “Create New” button. Then select “Landscape” or any aspect ratio of our choice.
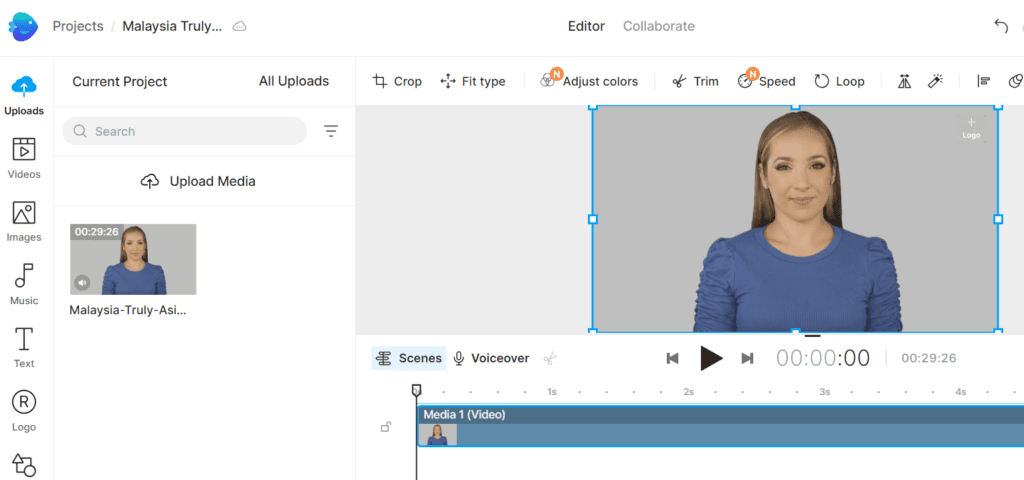
3-Upload the AI avatar video generated by Pipio in the previous step.

4-Drag the uploaded video into the editor.
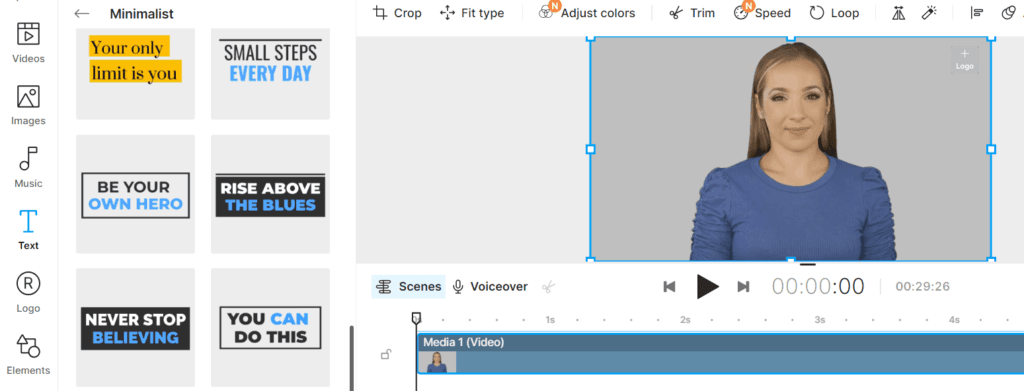
5-Add animated title. From the left panel, select “Text” > select “Minimalist” section > select “Be Your Own Hero” template and drag it into the editor.
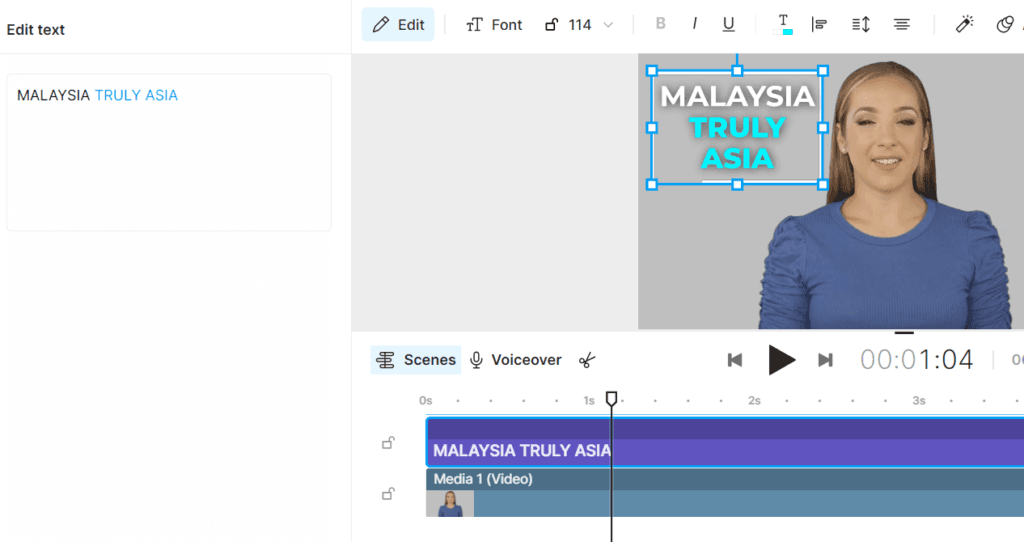
6-Select the added title template and edit accordingly. We can change its highlight color, size, position and many more. Also, don’t forget to extend the template following the main video length.
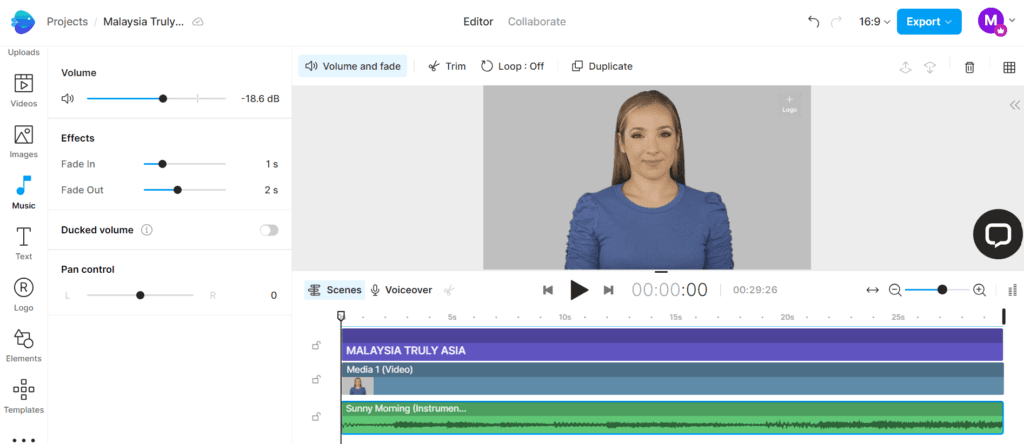
7-Go to the left panel again and select “Music” > under “Mood” select “Inspiring”. Then select our music of choice. Drag it to the bottom of the editor below the main video.
8-Select “Volume and fade”. Here we can adjust the volume to perhaps 18.6 DB and effect fade in to 1 second. All to make sure, the background music is set just nice and allows the main AI avatar’s voice to remain clear.
9-If we are satisfied with the video, go to the menu on the top right corner > export and perhaps select 1080 P for the best quality.


